
Building your own custom mechanical keyboard is a rewarding and personalized way to create a unique typing experience. With careful consideration and selection of components, you can design a keyboard that suits your preferences and style.
Choosing The Right Parts
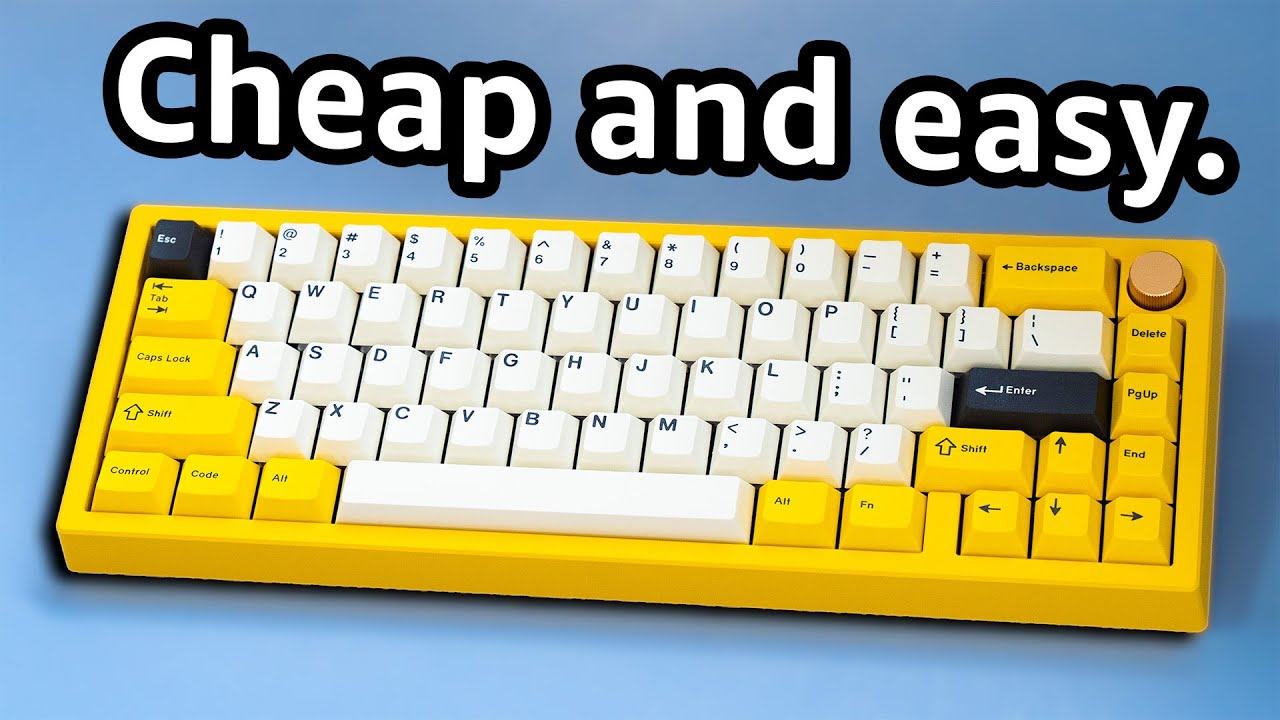
When it comes to building a custom mechanical keyboard, one of the most crucial steps is choosing the right parts. Each component contributes to the overall feel, sound, and aesthetic of the keyboard, so it’s essential to consider your preferences and needs. In this guide, we’ll walk through the key factors to consider when selecting switches, keycaps, PCB, and case for your custom mechanical keyboard.
Switches
First and foremost, switches are the heart of any mechanical keyboard, determining its tactile feel and sound. When choosing switches, consider factors like actuation force, tactile feedback, and sound profile. Popular options include Cherry MX, Gateron, and Kailh switches, each offering unique characteristics. It’s important to test different switches to find the one that best suits your typing style.
Keycaps
Next, keycaps are essential for both functionality and aesthetics. Keycaps come in various materials, such as ABS, PBT, and even metal, each impacting the overall typing experience. Additionally, keycaps are available in different profiles, including OEM, Cherry, and DSA, affecting the keyboard’s ergonomics and feel. Consider factors like durability, texture, and compatibility with your chosen switches.
Pcb
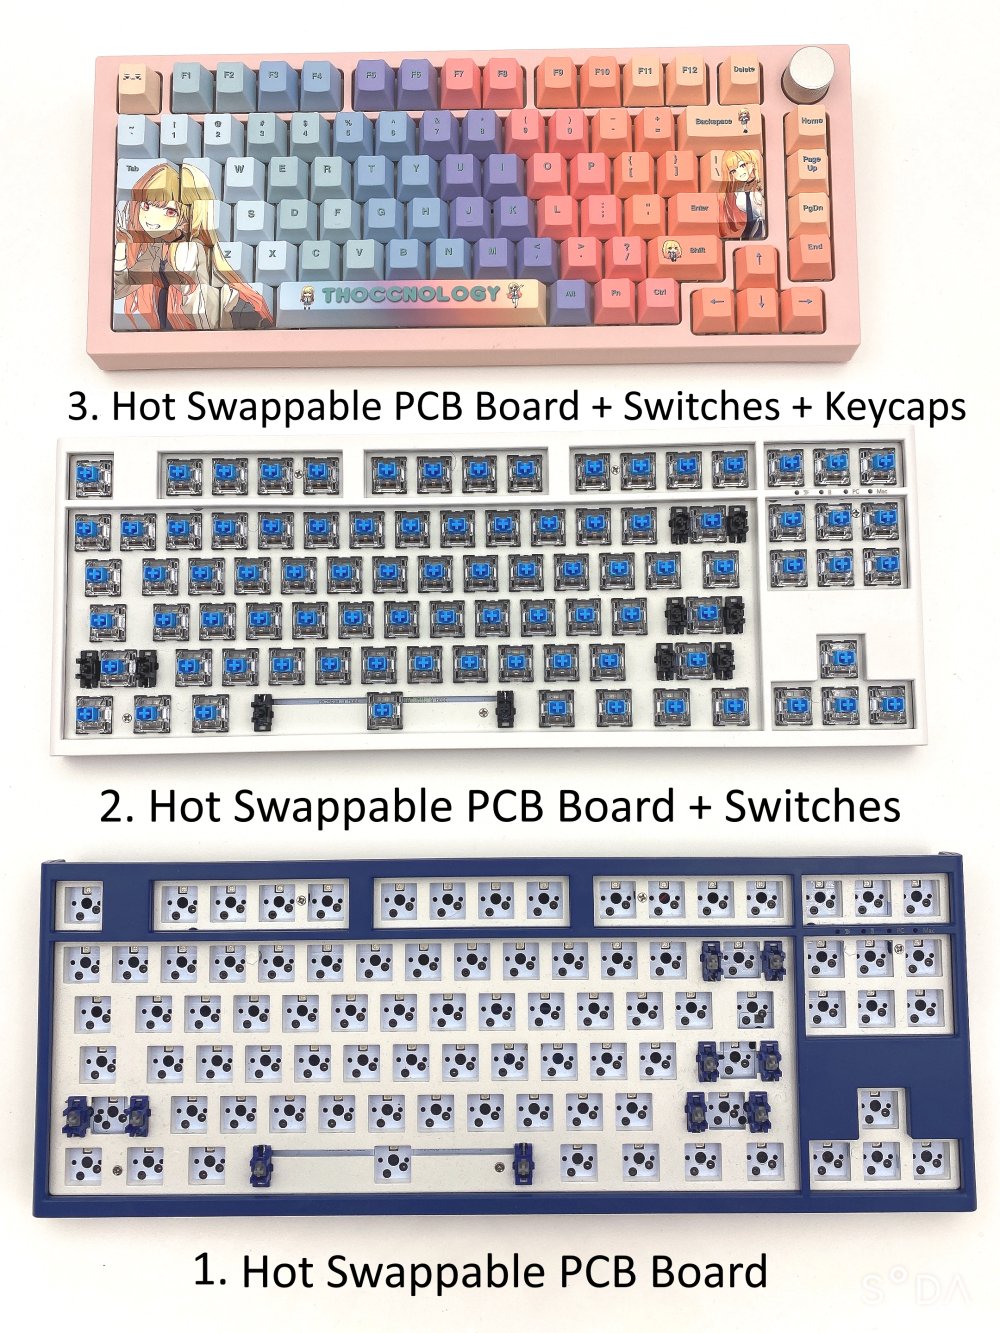
A quality PCB (printed circuit board) is crucial for the proper functioning of a custom mechanical keyboard. When selecting a PCB, ensure it supports the layout and features you desire, such as backlighting, programmability, and compatibility with your chosen switches. Additionally, look for a PCB with reliable solder joints and firmware support for easy customization.
Case
Finally, the case of your keyboard not only houses all the components but also contributes to the overall aesthetics and sound. Consider the materials (aluminum, plastic, wood, etc.), mounting style (top mount, tray mount, gasket mount), and form factor (60%, 75%, etc.) when choosing a case. Additionally, factor in the design and customization options that align with your preferences.
Tools And Equipment Needed
Building your own custom mechanical keyboard is an exciting project that allows you to tailor every aspect of the keyboard to your personal preferences. To embark on this DIY journey, it’s essential to have the right tools and equipment at your disposal. From a soldering iron to a screwdriver set and other crucial accessories, having the proper tools ensures a smooth and successful keyboard assembly process.
Soldering Iron
A soldering iron is a fundamental tool for assembling a mechanical keyboard. This device is used to attach the electrical components, such as switches and diodes, securely to the keyboard’s PCB. When selecting a soldering iron, opt for a unit with adjustable temperature settings to suit different soldering requirements accurately.
Screwdriver Set
Investing in a reliable screwdriver set is imperative for accessing and manipulating the various components of your custom mechanical keyboard. Whether it’s installing switches, securing the keyboard case, or making adjustments, a high-quality screwdriver set with interchangeable heads is a necessity.
Keycap Puller
A keycap puller is an essential tool for removing the keycaps from your mechanical keyboard. This specialized tool prevents damage to the keycaps or switches during removal, ensuring a smooth and efficient process when customizing or maintaining your keyboard.
Tweezers
When working with intricate keyboard components, a set of tweezers is invaluable for handling small parts and delicate elements with precision. Whether it’s positioning tiny components or making intricate adjustments, tweezers enable meticulous control during assembly and maintenance.
Assembling The Keyboard
Building your own custom mechanical keyboard is an exciting project that allows you to create a personalized and unique typing experience. Let’s dive into the process of assembling your keyboard step by step.
Mounting The Switches
Mounting the switches is the first step in assembling your custom mechanical keyboard. Carefully place each switch into the designated slots on the PCB.
Attaching The Pcb
Assemble the PCB to the case using the provided screws. Make sure the PCB is securely attached to the case to ensure stability and proper functioning of the keyboard.
Installing Keycaps
Next, install the keycaps onto the switches by pressing them firmly until they snap into place. Take your time to align each keycap correctly for a polished look.
Closing The Case
Finally, close the case of your custom mechanical keyboard by aligning the top and bottom halves and securing them together using the included screws. Ensure all components are tightly secured for a durable finish.
Credit: www.youtube.com
Customization Options
Building your own custom mechanical keyboard offers a world of possibilities when it comes to customization. From the aesthetics to the functionality, you have complete control over every aspect of your keyboard. Whether you’re a gaming enthusiast or an office professional, the ability to personalize your keyboard to suit your needs is a game-changer. Let’s explore some of the customization options that make building a custom mechanical keyboard so exciting.
Rgb Lighting
One of the most popular customization options in custom mechanical keyboards is RGB lighting. RGB stands for Red, Green, and Blue, and it refers to the ability to illuminate individual keys with a wide range of colors. With RGB lighting, you can create stunning lighting effects that add a unique touch to your keyboard. Whether you prefer a subtle and elegant backlight or a vibrant rainbow display, RGB lighting allows you to showcase your personality and style.
Programmable Macros
Another exciting feature that custom mechanical keyboards offer is programmable macros. Macros are shortcuts that perform a sequence of actions with a single keystroke. By programming macros, you can automate repetitive tasks, increase your productivity, and enhance your gaming experience. Whether it’s executing complex commands or performing a series of keystrokes for a specific software, programmable macros give you the power to customize your keyboard to fit your workflow.
Artisan Keycaps
Artisan keycaps add another dimension to the world of custom mechanical keyboards. These unique and handmade keycaps are often crafted by skilled artisans using various materials such as resin, wood, or metal. Artisan keycaps not only enhance the aesthetic appeal of your keyboard but also provide a tactile and customized feel. With countless designs and themes to choose from, you can transform your keyboard into a work of art that reflects your individual style and personality.
Programming The Keyboard
Once you have built your custom mechanical keyboard, the next step is to program it to your specific needs and preferences. Programming your keyboard allows you to customize its functionality, remap keys, and create macros. In this section, we will cover three important aspects of programming a custom mechanical keyboard: flashing firmware, key remapping, and creating macros.
Flashing Firmware
Flashing firmware refers to updating or replacing the software that controls your keyboard’s functionality. This process is necessary to ensure that your keyboard operates correctly and to take advantage of new features or bug fixes. To flash firmware, you will need to download the firmware file provided by the keyboard’s manufacturer and use a flashing tool.
To flash firmware, follow these steps:
- Connect your keyboard to your computer using a USB cable.
- Download and install the flashing tool specific to your keyboard.
- Open the flashing tool and select the firmware file you downloaded.
- Follow the on-screen instructions to flash the firmware onto your keyboard.
Key Remapping
Key remapping allows you to change the function of individual keys on your keyboard. This is useful if you want to customize your keyboard layout, improve efficiency, or overcome any limitations of the default key configuration.
To remap keys, you can use keyboard customization software provided by the manufacturer or third-party programs. These tools typically offer a user-friendly interface where you can easily assign new functions to specific keys or disable certain keys altogether.
Some common key remapping options include:
- Swapping the positions of keys (e.g., swapping Caps Lock with Left Control)
- Creating key combinations (e.g., using a combination of keys to activate a specific function)
- Disabling unused keys to prevent accidental presses
Creating Macros
Creating macros allows you to automate repetitive tasks or execute a series of commands with a single keystroke. Macros can be especially useful for gamers, programmers, or anyone who wants to streamline their workflow.
To create macros, you can use keyboard customization software that supports macro functionality. The software usually provides an intuitive interface where you can record your keystrokes and assign them to a specific key or key combination.
Here are some examples of how macros can be beneficial:
- Automatically inserting frequently used phrases or code snippets
- Performing complex keyboard shortcuts or commands with a single key press
- Simulating mouse movements or clicks for tasks that require precision
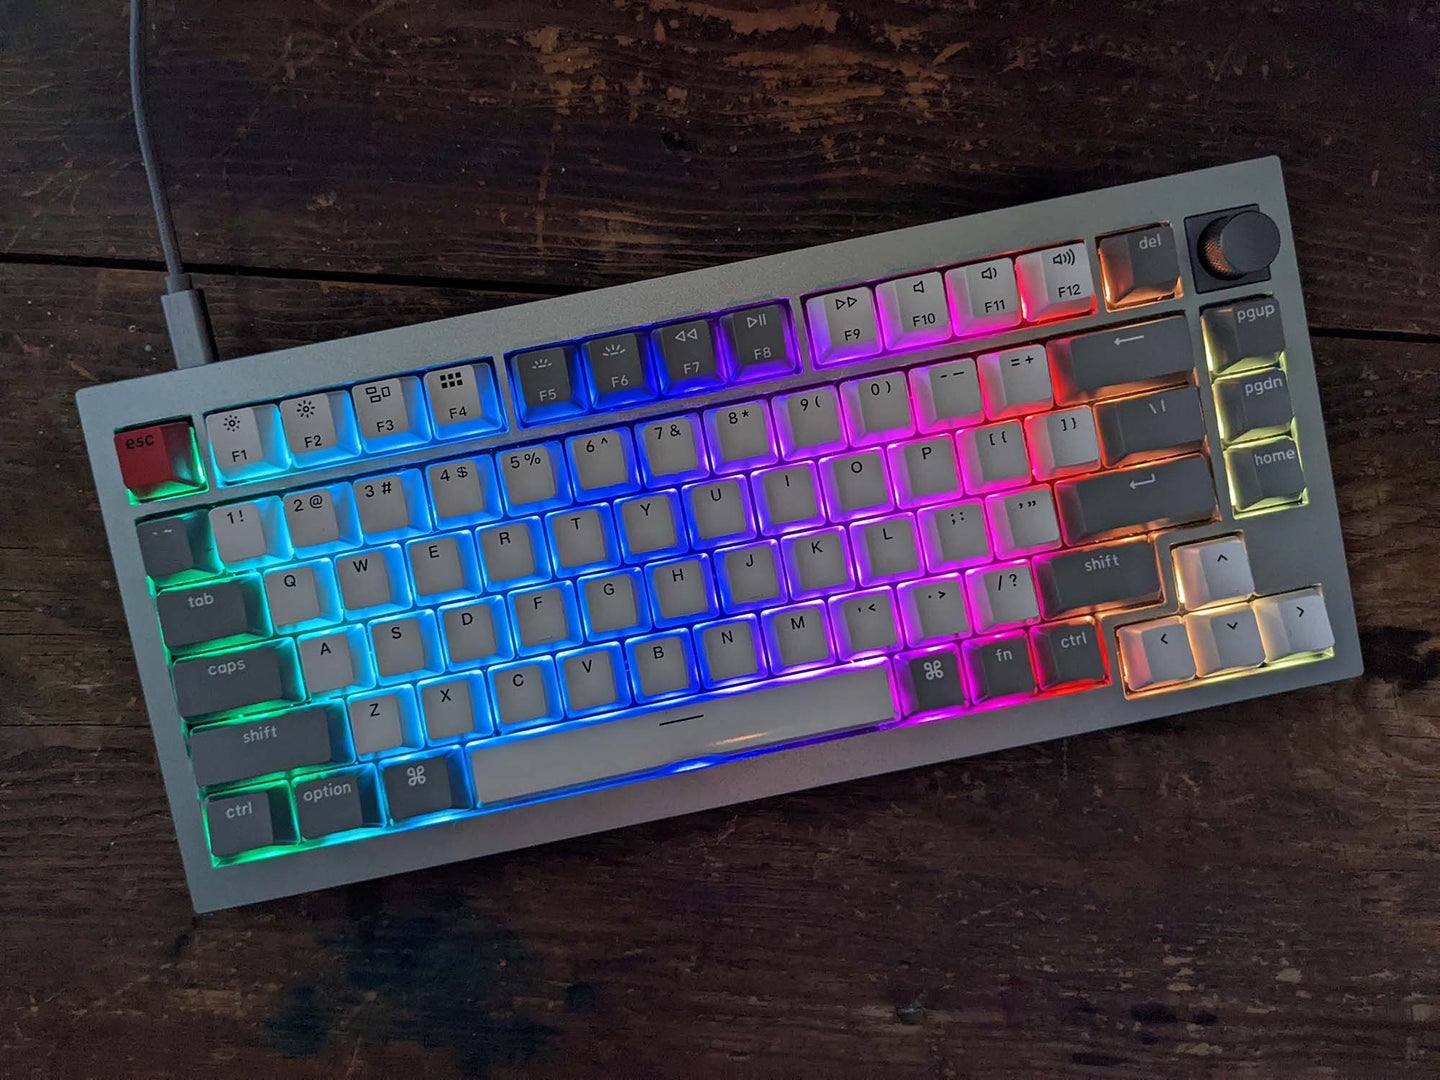
Credit: www.popsci.com
Troubleshooting Tips
Discover troubleshooting tips for building your own custom mechanical keyboard, ensuring a smooth and successful DIY experience. From identifying and resolving connectivity issues to programming and fine-tuning your keyboard’s functionality, these helpful tips will guide you through the process seamlessly.
- Testing Switches: To ensure that all switches are functioning correctly, it’s essential to test each key for responsiveness. Press each key firmly and methodically, checking for any keys that do not register or feel inconsistent. If you encounter non-responsive switches, double-check the switch installation and alignment. In some cases, switches may need to be desoldered and replaced if they are faulty or improperly seated.
- Checking Solder Joints: Examine the solder joints on the keyboard’s PCB (printed circuit board) for any signs of issues, such as loose connections or cold joints. Use a magnifying glass or a magnifying lamp to inspect the solder joints closely. Cold joints, which appear dull or grainy, may indicate insufficient solder or poor connectivity. If you identify any problematic solder joints, reflow the solder using a soldering iron to ensure a secure and reliable connection.
- Fixing PCB Issues: If you encounter PCB issues, such as damaged traces or components, use a multimeter to diagnose and troubleshoot the problem. Continuity testing can help identify broken traces or short circuits on the PCB. Check for any physical damage to the PCB, such as scratches, burns, or missing components, and address any issues accordingly. In some cases, repairing PCB damage may require soldering skills and replacement parts.
- Flashing Firmware: If your custom mechanical keyboard features programmable firmware, ensure that the firmware is correctly flashed and configured. Use the appropriate firmware flashing tool and software to upload the firmware to the keyboard’s microcontroller. Double-check the firmware settings and key mappings to ensure that they align with your desired layout and functionality. If you encounter any issues with firmware flashing or programming, consult the manufacturer’s documentation or online resources for troubleshooting guidance.
- Testing Connectivity: Once you’ve assembled and programmed your custom mechanical keyboard, thoroughly test its connectivity and functionality. Connect the keyboard to your computer and test each key to ensure that all inputs are registering correctly. Verify that any additional features, such as RGB lighting or media controls, are functioning as intended. If you encounter connectivity issues, check the USB cable, connector, and solder joints for any signs of damage or poor connectivity.
By following these troubleshooting tips, you can address common issues and ensure a smooth and successful DIY experience when building your own custom mechanical keyboard. Remember to take your time, be patient, and methodically diagnose and resolve any problems that arise during the assembly and testing process.
Maintenance And Care
Maintenance and Care play a crucial role in prolonging the lifespan of your custom mechanical keyboard.
Cleaning Keycaps
Regularly clean keycaps using a mild soap and warm water solution to prevent dirt build-up.
Preventing Dust Build-up
- Keep your keyboard covered when not in use to shield it from dust accumulation.
- Use a keyboard sleeve when transporting your keyboard to protect it from fine particles.
Lubricating Switches
- Apply a thin layer of lubricant to switches to enhance their smooth operation.
- Choose a lubricant specifically designed for mechanical keyboard switches.
Community And Resources
When it comes to building your own custom mechanical keyboard, the community and available resources are invaluable. Whether you’re a seasoned DIY enthusiast or just starting out, tapping into the collective knowledge and passion of fellow enthusiasts can help you make informed decisions and create a truly unique keyboard. In this section, we’ll explore some key resources that can aid you on your keyboard-building journey.
Joining Keyboard Enthusiast Forums
For keyboard enthusiasts, joining a dedicated online forum is like finding a treasure trove of information, ideas, and support. These forums serve as virtual meeting places where people with a shared passion for mechanical keyboards can connect, share their experiences, and seek advice. By actively participating in these forums, you can gain valuable insights, learn about new techniques, and stay up to date with the latest trends and developments in the keyboard-building world.
Here are a few popular keyboard enthusiast forums worth considering:
- r/MechanicalKeyboards: A vibrant community on Reddit where enthusiasts discuss everything keyboard-related, from keycap sets to switch modifications.
- Geekhack: One of the longest-standing forums dedicated to mechanical keyboards, offering a wealth of information on customization, group buys, and more.
- Keebtalk: A welcoming forum catering to enthusiasts of all skill levels, where you can discuss and learn about custom keyboards and accessories.
Finding Group Buys
Group buys are an exciting way to access unique keyboard parts, such as exclusive keycap sets, printed circuit boards (PCBs), and artisan keycaps. These buys typically require a certain number of orders to proceed, making them a collaborative effort within the community.
To find ongoing and upcoming group buys, check out dedicated websites like MechGroupBuys and NovelKeys. These platforms curate and list group buy projects from various vendors, allowing you to discover limited-edition or custom components that can make your keyboard truly stand out.
Watching Build Guides
Watching build guides can be immensely helpful, especially if you’re new to keyboard building or considering a specific kit. These guides provide step-by-step instructions, tips, and tricks to help you navigate the process with confidence.
You can find build guides in various formats, including YouTube videos, blog posts, and tutorials on enthusiast forums. Websites like Learn Keyboard and Top Clack offer a wealth of educational resources, ranging from beginner-friendly guides to advanced soldering techniques.
Credit: goblintechkeys.com
Frequently Asked Questions On Building Your Own Custom Mechanical Keyboard
What Do I Need To Build A Custom Mechanical Keyboard?
To build a custom mechanical keyboard, you need switches, keycaps, PCB, plate, case, stabilizers, and a soldering iron.
Is It Better To Build Or Buy A Mechanical Keyboard?
It’s better to build a mechanical keyboard to personalize it to your exact preferences. This allows you to choose specific switches, keycaps, and layout based on your needs. Building also offers a higher level of customization and quality compared to buying a pre-made keyboard.
Is It Expensive To Make Your Own Keyboard?
Making your own keyboard can vary in cost depending on the components and customization. Generally, it can be expensive due to the quality and features you desire. However, it could also be cost-effective if you opt for more affordable options.
Can Mechanical Keyboards Be Customized?
Yes, mechanical keyboards can be customized with different keycaps, switches, and designs to suit personal preferences.
Conclusion
In crafting your custom mechanical keyboard, the possibilities are endless. Enjoy the satisfaction of a personalized tool that enhances your typing experience. Dive into the world of mechanical keyboards and unleash your creativity today. Let your keyboard be a reflection of your unique style and preferences.
Create, customize, and type away!